Tools you will need:
Flat blade screw driver (med)
Needle-nose pliers
Note:
The following procedure may or may not require the removal of the inlet and or discharge hose(s) and wiring depending on how the unit was installed.Tip: Operating the unit’s dry bowl mode prior to removal, will help minimize water spillage.
Macerator Chamber
1.a)
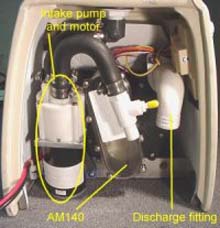
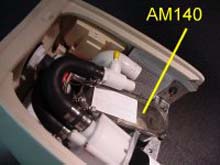
The discharge assembly can be inspected either for restrictions or damage by viewing through the clear view AM140 discharge inspection cover.
1.a)
The discharge assembly can be inspected either for restrictions or damage by viewing through the clear view AM140 discharge inspection cover.
1.b)
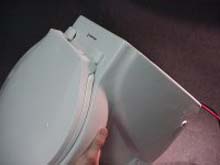
To remove obstructions in the macerator or inspect, pivot unit forward and remove AM140 clear inspection cover (8 screws).Clear any debris from the area and reassemble.
To remove obstructions in the macerator or inspect, pivot unit forward and remove AM140 clear inspection cover (8 screws).Clear any debris from the area and reassemble.
Joker Valve
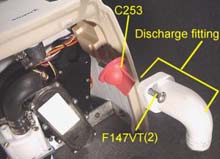
To inspect, change or clear a restriction in the C253 joker valve, remove the discharge hose fitting (90o or straight) by removing the screws F147VT (2) on both sides of the flange.
The C253 joker valve fits inside the discharge hose fitting.
To inspect, change or clear a restriction in the C253 joker valve, remove the discharge hose fitting (90o or straight) by removing the screws F147VT (2) on both sides of the flange.
The C253 joker valve fits inside the discharge hose fitting.
Carriage Removal
If necessary, the entire internal mechanism can be removed from the bowl.
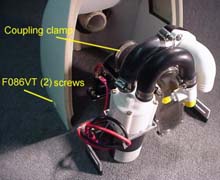
a.) Loosen coupling clamp.
b.) Remove F086VT (2) screws from both sides of the bowl.
c.) Disconnect wiring as necessary.
If necessary, the entire internal mechanism can be removed from the bowl.
a.) Loosen coupling clamp.
b.) Remove F086VT (2) screws from both sides of the bowl.
c.) Disconnect wiring as necessary.
